The desire to customize our gear, especially in sports, can be traced back to ancient times. Painting a football helmet, however, demands precision, patience, and a bit of know-how. Before you dive into the process, there are some essential points to note.
Preparing the Helmet
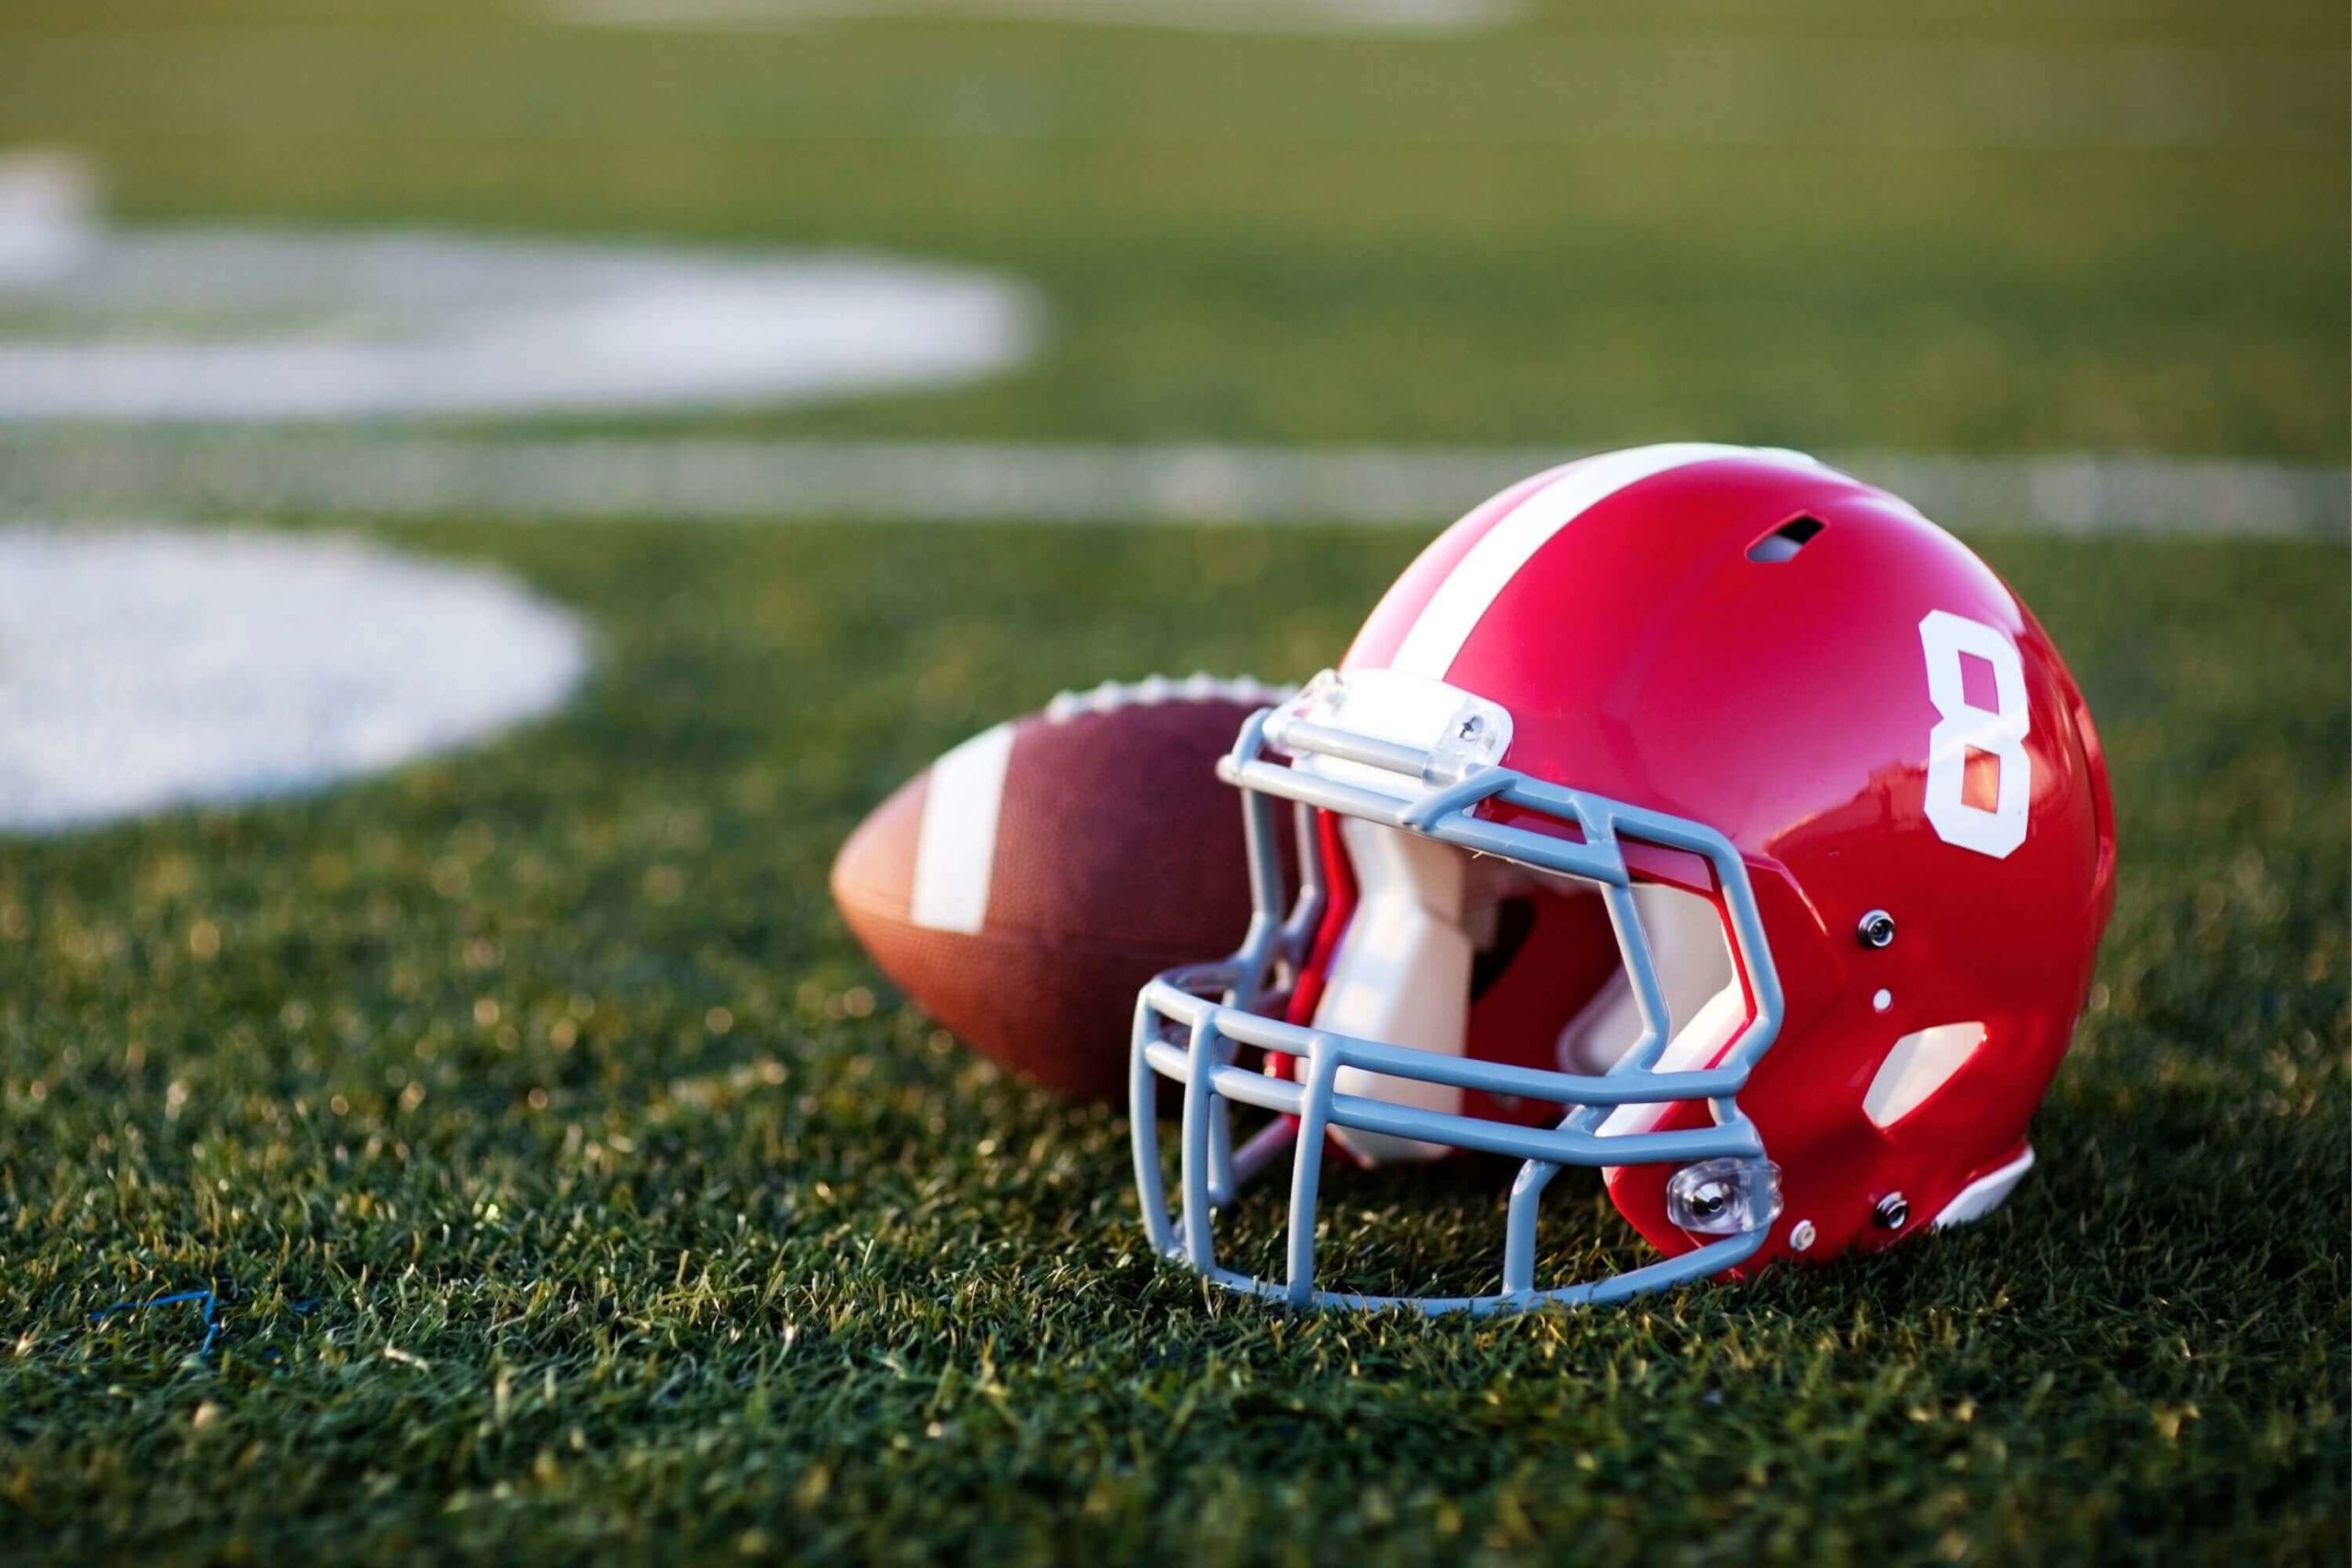
To prepare the helmet for painting, you will need to clean, sand, and mask it. Cleaning ensures a smooth surface, sanding helps with adhesion, and masking protects areas you don’t want to paint. These steps are crucial in achieving a high-quality finish on your football helmet.
Cleaning the Helmet
To keep your helmet in top condition, regular cleaning is essential.
Here’s how:
- Take off any removable parts, like visor or padding, before you start.
- Wash the outside of the helmet with a soft sponge or cloth using a mild soap or special helmet cleaner. No abrasive materials!
- Thoroughly rinse with warm water to get rid of any residue.
- Let it air-dry in a well-ventilated area before putting it all back together and storing in a dry place.
It’s important to check your helmet for any damage, like cracks or loose parts. Keeping on top of this can ensure maximum safety.
Fun fact: A study done by the NHTSA showed that wearing a helmet correctly reduces head injury risk by 69% and death risk by 42%. So, get to cleaning and stay safe!
Sanding the Helmet
- Inspect it: Check for any imperfections or rough patches that need sanding. This helps you decide how much sanding is needed.
- Choose the right sandpaper: Get sandpaper suited for your helmet material. Use a fine grit to avoid damage and still get a smooth finish.
- Sand in circles: Start lightly sanding the rough areas with circular motions. Apply even pressure and keep assessing your work.
- Make it smoother: When the rough spots are gone, switch to a finer grit sandpaper. Carefully go over the entire helmet, using consistent pressure and motion, until you get an even smoothness.
Detail is key when sanding a helmet. Take your time and don’t rush. Different materials may require different tools and techniques. Research or consult experts before sanding specialized helmets such as motorcycle or sports helmets.
Throughout history, warriors prepared helmets for battle by hand-sanding them. This made them smooth and allowed for decorations, which showed their status and achievements on the battlefield. The tradition of sanding and customizing helmets continues today, with advanced tools and techniques.
Prepare your helmet and get ready for a wild ride – protecting your head never looked this fashionable!
Masking the Helmet
Secure your helmet with masking tape! It’ll protect the delicate parts during customization and painting. A pro motocross racer once used the tape to create a unique design for a championship race – the eye-catching look became his signature style!
Here’s how:
- Clean the helmet surface.
- Put masking tape on areas that need protection.
- Press firmly for adhesion.
- Trim any excess.
Get ready to give your helmet a makeover!
Priming the Helmet
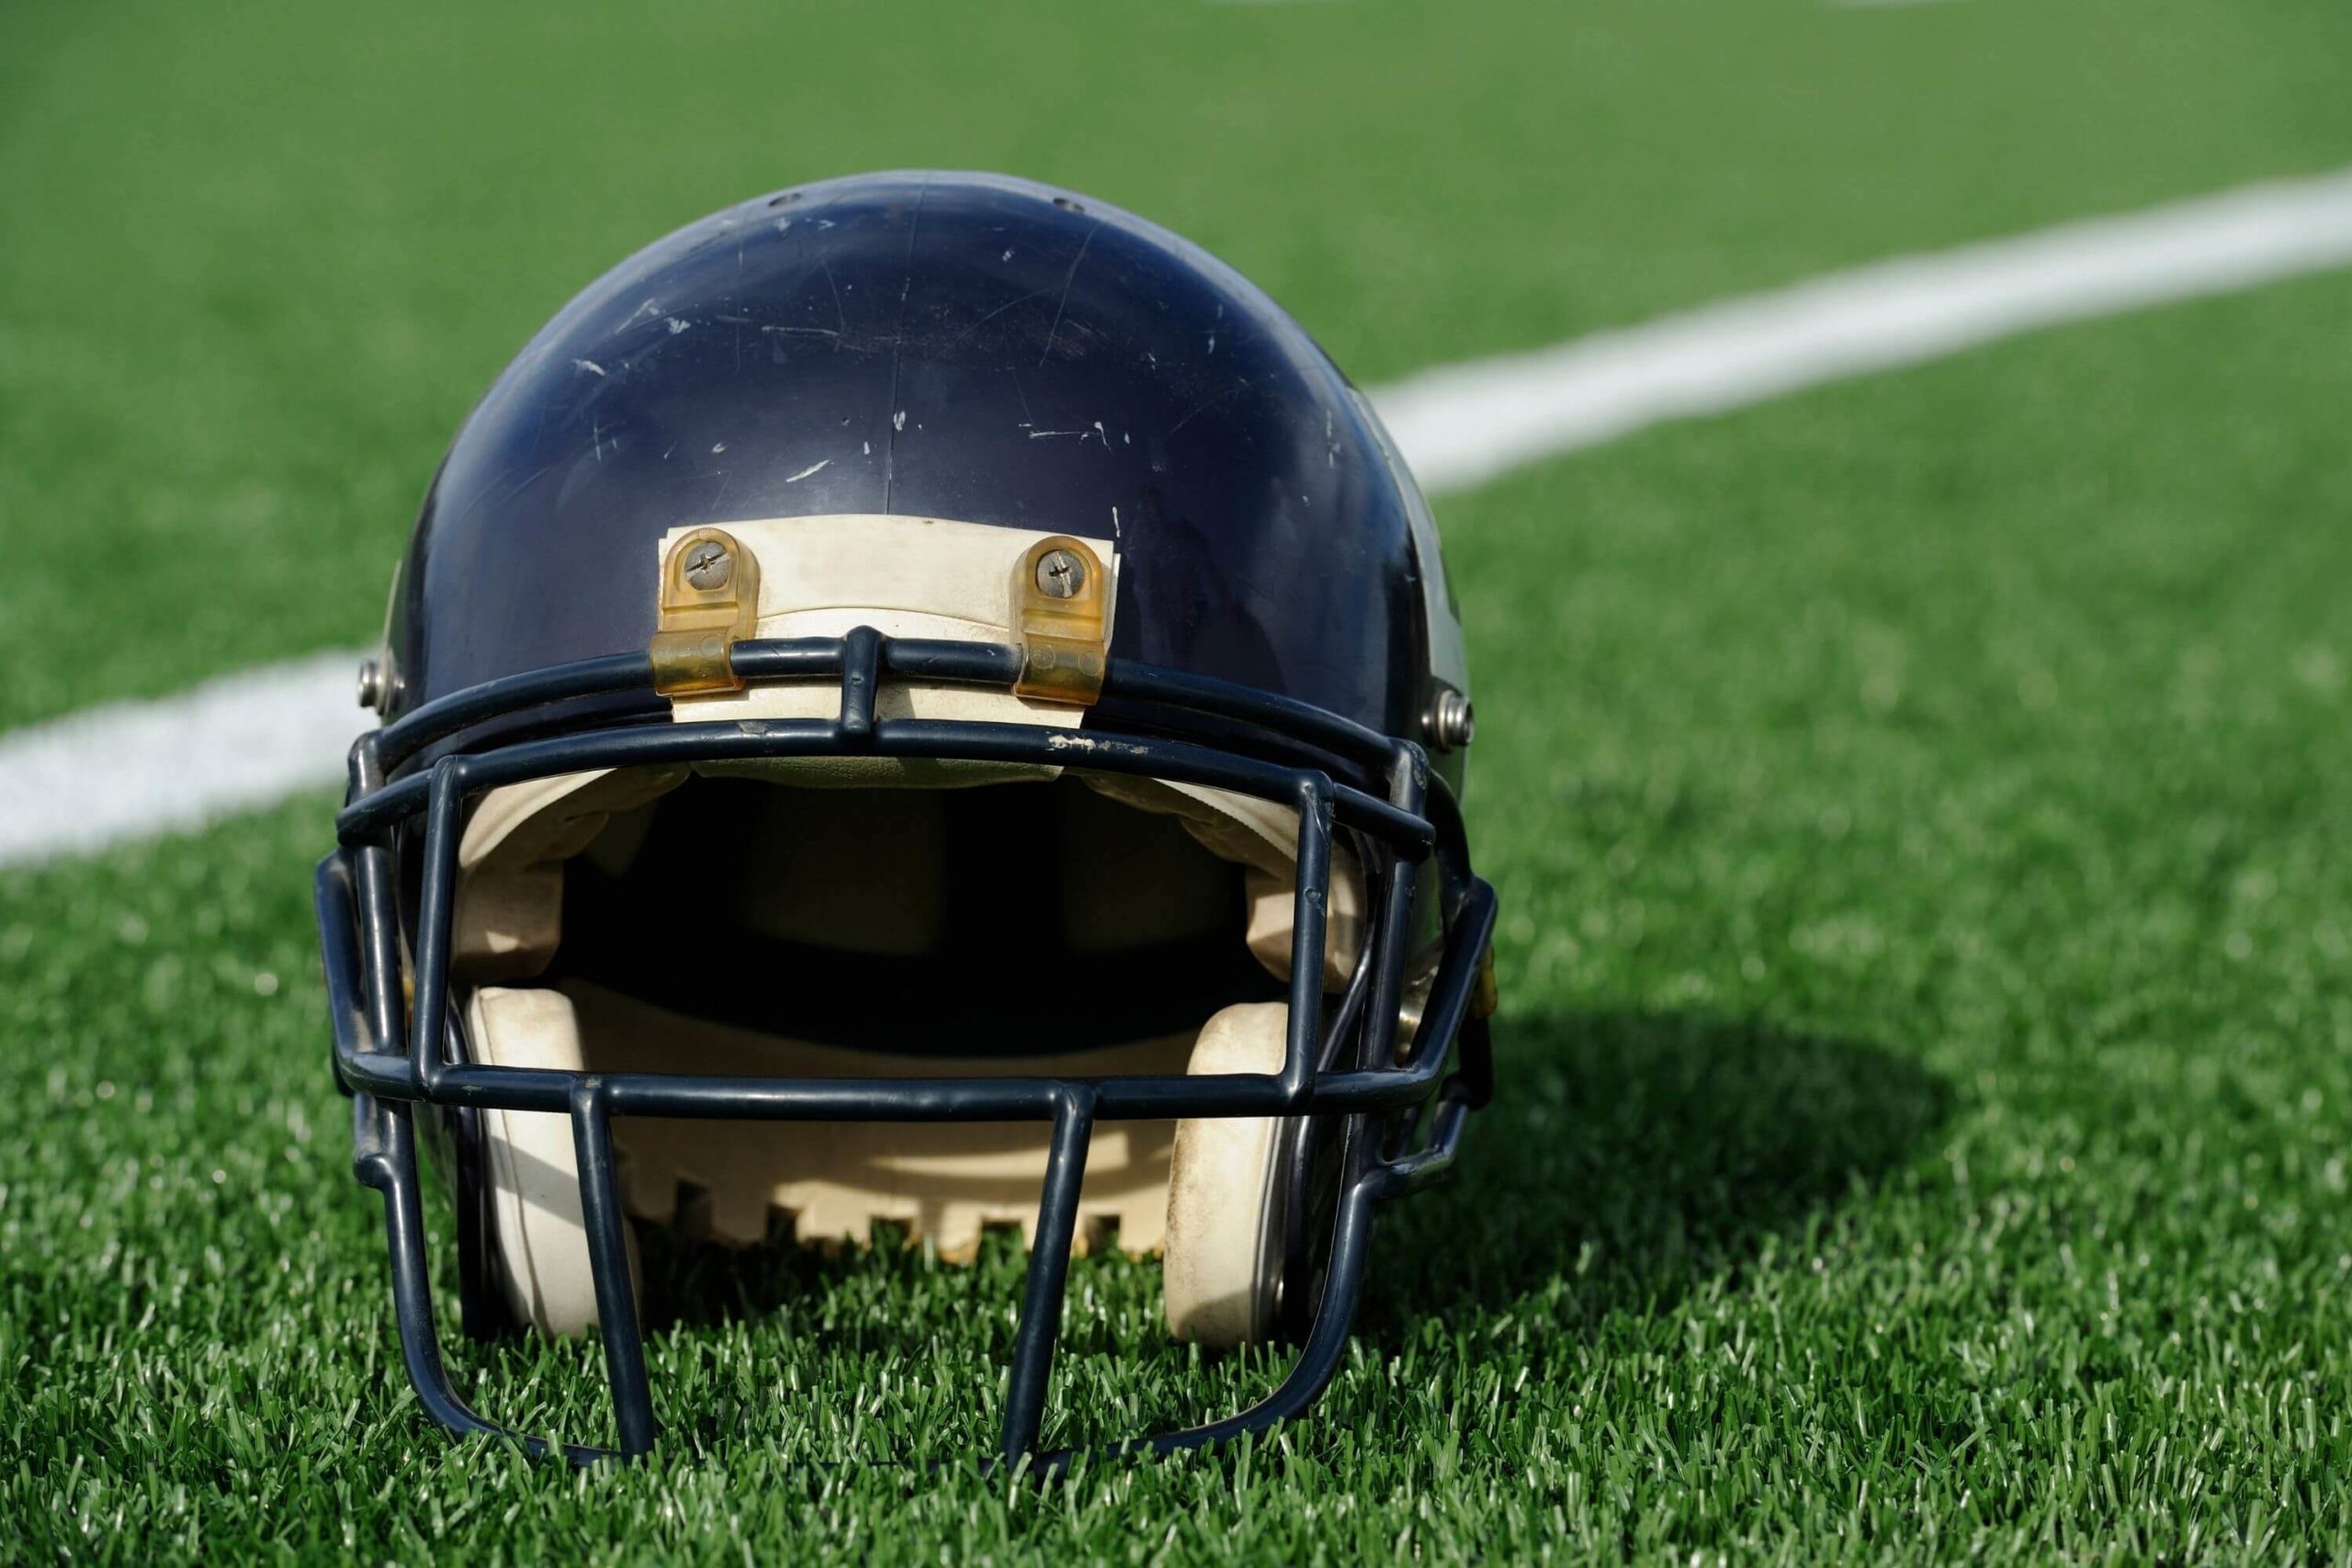
To achieve a well-primed football helmet, equip yourself with the knowledge on choosing the right primer and applying it effectively. By understanding the benefits of each sub-section – choosing the right primer and applying primer to the helmet – you’ll be equipped to begin the process of priming your football helmet with confidence.
Choosing the Right Primer
Choosing the right primer is key for a successful painting project. It’s the foundation for a smooth and durable finish. Here, we offer a table to help you make a well-informed decision.
| Primer Type | Suitable Surfaces | Benefits |
|---|---|---|
| Water-based Primer | Interior walls and ceilings | Quick drying, low odor, easy cleanup |
| Oil-based Primer | Wood surfaces | Offers excellent adhesion, stain-blocking properties, durable finish |
| Shellac Primer | Stains, odors, wood knots/sealer bleed-throughs | Perfect for addressing these issues |
Remember: proper surface preparation is essential to maximize the effectiveness of primer. So, get ready to paint with confidence!
Applying Primer to the Helmet
To prime your helmet perfectly, follow four simple steps:
- Clean the surface with a mild soap or detergent and a soft cloth or sponge, to remove any dirt, grease, or debris.
- Apply an even layer of primer to the entire surface, using a paintbrush or spray gun. Cover the edges and corners too.
- Let the primer dry completely before continuing. This helps the paint stick better and gives a smooth finish.
- Lightly sand the surface with fine-grit sandpaper for a super smooth base. It also removes imperfections.
For best results:
- Use a quality primer specifically designed for helmets and other automotive surfaces.
- Work in a well-ventilated area or wear protective gear such as gloves and mask when applying primer.
- Follow the manufacturer’s instructions regarding drying time and application methods.
- Apply multiple thin coats of primer for great coverage.
Take care to select the right materials and devote attention to each step of priming for the best outcome. Now, you can add some color to your helmet and stand out from the crowd!
Painting the Base Color
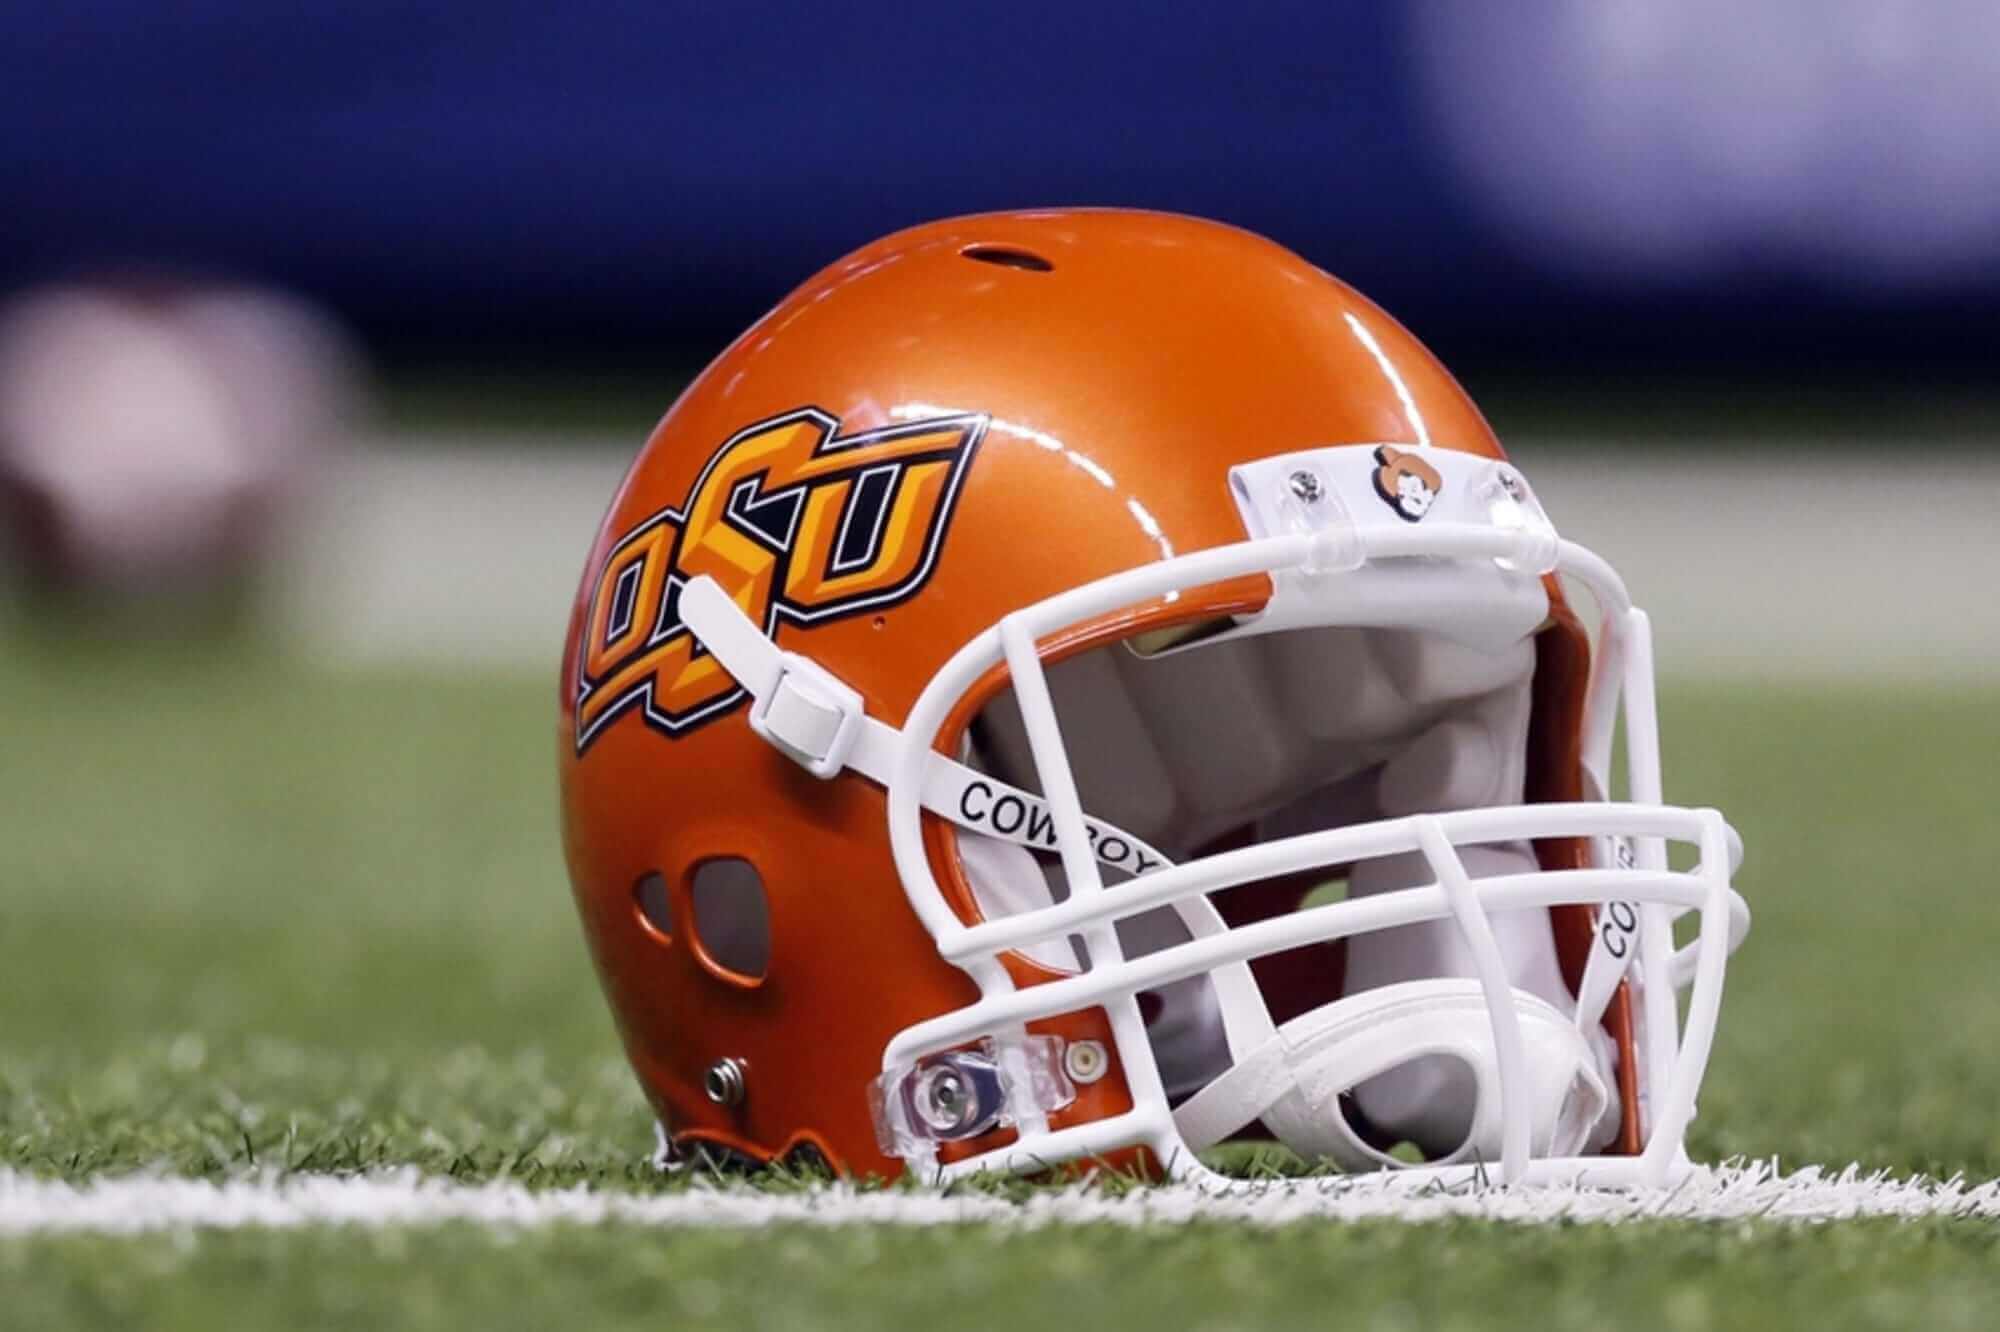
To paint the base color of your football helmet, begin by selecting the perfect base color and then applying the base coat to the helmet. This section focuses on the techniques and steps involved in achieving a solid and uniform base color for your helmet.
Selecting the Base Color
Choosing the base color for your artwork is an important step. To help, here’s a table of base colors and their characteristics:
| Base Color | Characteristics |
|---|---|
| Warm Colors | Energy, vibrancy |
| Cool Colors | Calming, soothing |
| Neutral Colors | Versatile, timeless |
| Bold Colors | Power, drama |
| Pastel Colors | Soft, delicate |
Going further, look at the unique qualities of each color family. Varying shades can bring out subtle effects that match your vision.
As I painted my mural, I heard a story about an artist who used warm orange tones to make an ordinary scene extraordinary.
Remember, every artist has their own preferences. Explore possibilities, trust your instincts, and let yourself be inspired by unusual choices. Let your imagination guide you and you’ll get great results.
And don’t forget, a well-coated head is essential – unless you’re a snake!
Applying the Base Coat to the Helmet
Applying a base coat to a helmet involves multiple important steps. By following them, you can get a professional and long-lasting base color.
- Preparing: Make sure the helmet is dust-free and clean. Wash it with a mild detergent and water. Let it dry.
- Primer Application: Put a thin layer of primer evenly on the helmet surface. Use a brush or spray gun. Cover all areas.
- Sanding: When the primer has dried, sand the helmet surface with fine-grit sandpaper. Be gentle.
- Base Coat Application: Choose a quality acrylic or enamel paint. Apply thin layers with a brush or spray gun. Let each layer dry before applying the next.
- Finishing Touches: Check for any uneven spots or imperfections. Sand and reapply paint if needed. Let the helmet dry.
Be sure to follow the steps carefully for a professional result. Ventilation is essential for safety. Automotive-grade primer gives better adhesion and durability. To make the paint job interesting, add logos or designs.
Adding Designs and Logos

To add designs and logos to your football helmet, use the following techniques: Creating stencils for designs and logos, and applying them to the helmet surface. These steps will help you enhance the aesthetic appeal and personalization of your helmet.
Creating Stencils for Designs and Logos
- Choose the design or create a logo to stencil.
- Make sure the lines are clear and distinct.
- Trace it onto cardboard or plastic with a fine-tip marker or pencil.
- Carefully cut along the traced lines with a sharp craft knife or scissors.
- Cut away any excess material.
- Test the stencil on scrap paper or a similar material.
- Secure it with tape on the desired surface.
- Apply paint with stippling or light brushing.
- Experiment with vinyl sheets or transparency film for more durability.
- Incorporate multiple colors or shading.
- Combine multiple stencils for complexity.
- Practice patience and precision.
- Now your helmet can be fashionable and safe!
Applying Designs and Logos to the Helmet
Steps to personalize your helmet:
- Clean the helmet surface to guarantee good adhesion.
- Select your design or logo and place it correctly on the helmet.
- Attach the design using adhesive or heat transfer techniques.
- For a unique look, think about personalizing the design with intricate designs or incorporate team logos.
- When applying logos, ensure they are compliant with safety regulations and legal needs.
Long ago, warriors decorated their helmets with symbols to symbolize their courage and strength in battle. This custom still happens today, as athletes happily display team logos on their helmets, showing unity and pride in their sport.
Adding designs and logos is acceptable, just don’t forget to apply clear coat!
Applying Clear Coat
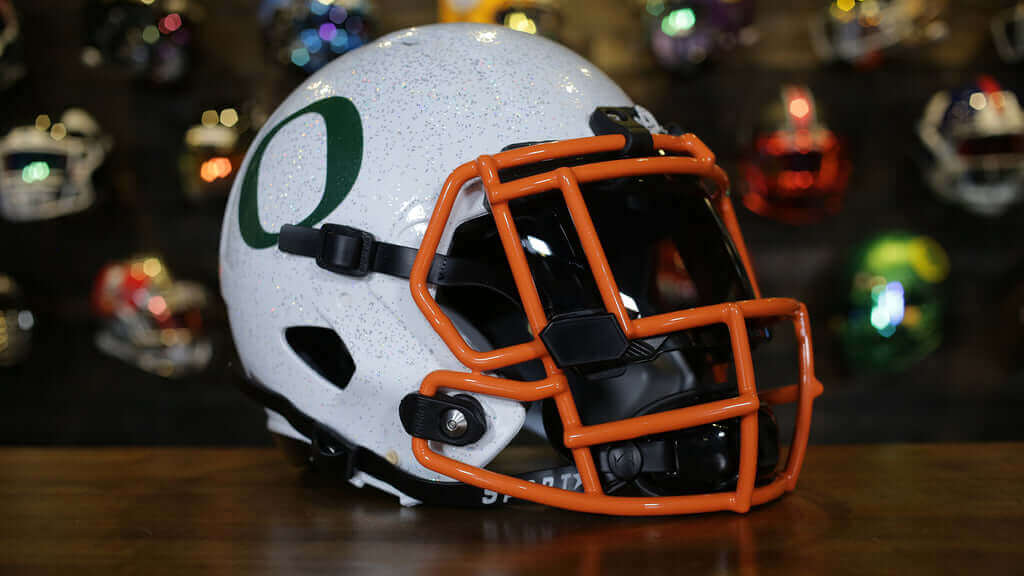
To achieve a flawless finish on your football helmet, tackle the “Applying Clear Coat” step head-on. Discover the secrets behind selecting the perfect clear coat and the precise technique required to apply it seamlessly to your helmet’s surface. Mastering these key sub-sections will lead you to a professional quality paint job.
Choosing the Right Clear Coat
Choosing the right clear coat is essential for a professional and long-lasting finish. It’s important to factor in durability, application method, and sheen level. Here’s a breakdown of different clear coat types: Acrylic, Polyurethane, and Lacquer.
Acrylic is water-based and eco-friendly. Polyurethane is oil-based and offers improved durability. Lacquer dries quickly, but may need multiple coats for optimal protection.
Note that each type of clear coat may work better with a certain application method. Read the manufacturer’s instructions carefully.
My friend had a dining table with an acrylic clear coat. It was not suitable for high traffic areas, and soon it had scratches and scuffs. That’s when they learned the importance of selecting a strong clear coat based on usage.
Choose wisely and you’ll save time and effort in the long run. Pick a clear coat that gives both aesthetic appeal and protection for your project. Get your helmet clear-coated for ultimate protection!
Applying Clear Coat to the Helmet
Apply clear coat to your helmet for a glossy and protective finish!
Here’s a step-by-step guide:
- Prep the surface: Clean with soap and water. Gently roughen the surface with fine-grit sandpaper.
- Apply clear coat: Shake the can well. Hold it 8-10 inches away from the helmet. Apply a thin, even layer with smooth motions. Cover all areas, including details.
- Dry: Let it dry according to manufacturer’s instructions (15-30 min). Inspect for imperfections. Sand any uneven patches and apply another thin layer.
Extra tip: For a smooth finish, use fine-grit sandpaper between coats.
Safety: Work in a well-ventilated area. Wear gloves and a mask.
Fun Fact: Clear coating helmets originated during WWII! Their reflective properties improved visibility on the battlefield. Now it’s a standard practice for protection and looks. Bubble wrap is not an acceptable alternative, no matter how ‘poppy’ it is!
Drying and Finishing
To ensure proper drying and finishing of your newly painted football helmet, follow these essential steps. Allow sufficient drying time for the helmet to set properly, and then inspect and touch up any areas that may need it.
Allowing Sufficient Drying Time
Proper drying is essential for successful finishing projects. It ensures materials are cured, creating a strong, lasting finish.
To dry properly, follow these steps:
- Prep: Clean the surface before applying any finishes. This will make sure the finish sticks and there are no imperfections.
- Application: Use the right tools for the job – brushes or spray guns – and apply thin layers for quicker drying.
- Patience: Allow each layer to dry before adding more or touching the project. This will help you get a professional look.
Environmental factors like temperature and humidity matter too. Higher temps and lower humidity speed up dry times. Cooler temps and higher humidity slow the process.
Don’t forget: allowing enough time for drying is critical. Exercise patience and use proper techniques to make sure your project looks great and lasts.
And don’t forget: some wood species take longer to dry. For example, oak has naturally higher moisture content than other woods, so extra drying time is needed (source: Wood Magazine).
Inspecting and Touching Up the Helmet
For the utmost safety and performance of your helmet, it’s paramount to inspect it regularly.
Follow these 4 steps for the inspection and maintenance:
- Examine the outside: Carefully search for cracks, dents or any other damage. Check the straps, buckles, and ventilation system for any signs of wear. Deal with any issues swiftly to keep optimal protection.
- Assess the inner padding: Scan the cushioning inside for defects or deterioration. Make sure it fits your head snugly, without losing its cushioning capabilities. Replace if needed for best support.
- Check the visor: Inspect it for scratches or cracks that could obstruct vision while riding. Clean with a soft cloth and mild detergent, avoiding harsh chemicals. Replace if necessary for greater clarity.
- Stay clean: Cleanliness is important not only for looks, but also for hygiene. Remove removable parts such as liners or cheek pads and wash according to instructions. Wipe down the shell with a damp cloth, making sure no dirt or debris remains.
In addition, remember regular inspections to locate possible dangers early on. By dealing with small issues promptly, you can prevent them from becoming major concerns that compromise your safety on the road.
It’s essential to take action now and make sure your helmet is in best condition for each journey. Don’t let safety be compromised by neglecting regular inspections and touch-ups – let the fear of missing out on safety drive you to responsible helmet care!
Curing the Paint
To ensure the longevity and durability of your painted football helmet, curing the paint is essential. Achieve optimal results by utilizing a heat gun or oven for curing, and follow proper curing techniques. These sub-sections will guide you through the necessary steps to achieve a well-cured and professionally finished football helmet.
Using a Heat Gun or Oven for Curing
When it comes to curing paint, a heat gun or oven can be effective. Applying heat lets the paint dry quickly and creates a smooth finish.
Benefits of using a heat gun or oven:
- Heat Gun: Precise temp control, portable, quick drying.
- Oven: Even heat distribution, large capacity, consistent temp control.
Remember to follow manufacturer instructions for safety and best results. To save time and get professional results, give a heat gun or oven a try. Your project will be noticed! Utilize these methods for proper curing techniques – otherwise you might have a paint job that peels off!
Following Proper Curing Techniques
- Clean first with soap and water. Get rid of dirt, grease, and other stuff that could slow down the curing.
- Let the paint dry, following the manufacturer’s instructions. Keep the temperature and humidity in the right range. Heat might be needed if you are in a hurry.
- Don’t touch or move anything until the painting is fully cured. Be patient, or else your paint job won’t last.
Tip: Test a small, hidden area before applying heat.
Frequently Asked Questions
Q: What kind of paint should I use to paint a football helmet?
A: It is important to use a paint that is specifically designed for helmets, such as a high-gloss enamel or acrylic paint. Make sure it is also non-toxic and safe for use on plastics.
Q: Do I need to prep the helmet before painting?
A: Yes, the helmet needs to be thoroughly cleaned and sanded. This ensures that the paint will adhere properly and minimize the risk of chipping or peeling.
Q: Can I use a spray paint for the helmet?
A: Yes, a spray paint can be used as long as it is compatible with plastic. However, it is recommended to use a paintbrush or airbrush for more precise application and control.
Q: How many coats of paint should I use?
A: It is recommended to use at least two coats of paint, allowing each coat to dry completely before applying the next. However, the number of coats may vary depending on the desired outcome and color opacity.
Q: How long should I let the helmet dry before use?
A: It is important to follow the manufacturer’s instructions for drying time, but generally, it is recommended to wait at least 24-48 hours before using the helmet to ensure the paint has properly cured.
Q: Can I apply decals or stickers to the helmet after painting?
A: Yes, you can apply decals or stickers to the helmet after painting. However, make sure the paint is completely dry and cured before applying any adhesive to prevent damage or peeling of the paint.
Conclusion
Painting a football helmet is not just about aesthetics; it’s about personal expression, team spirit, and passion for the game.


